NotebookLM PDF Watermark Remover
- Gamma Watermark Remover
- NotebookLM Watermark Remover
- NotebookLM PPT Watermark Remover
- NotebookLM Video Watermark Remover
- All formats
A NotebookLM Slide Deck PDF usually holds one full-page image per slide, with the NotebookLM badge in the bottom-right corner of each image. Drop the PDF here: the tool opens each page image at its original resolution, rebuilds only the badge pixels from the background around them, and writes the image back into the same PDF. Nothing is rasterized again, so text in the slide stays exactly as sharp as before.
Opening and previewing is free; a download counts as one export. Check that nothing is uploaded
Your file in, a clean corner out
Choose a watermark type on the left and the box moves on this sample slide.
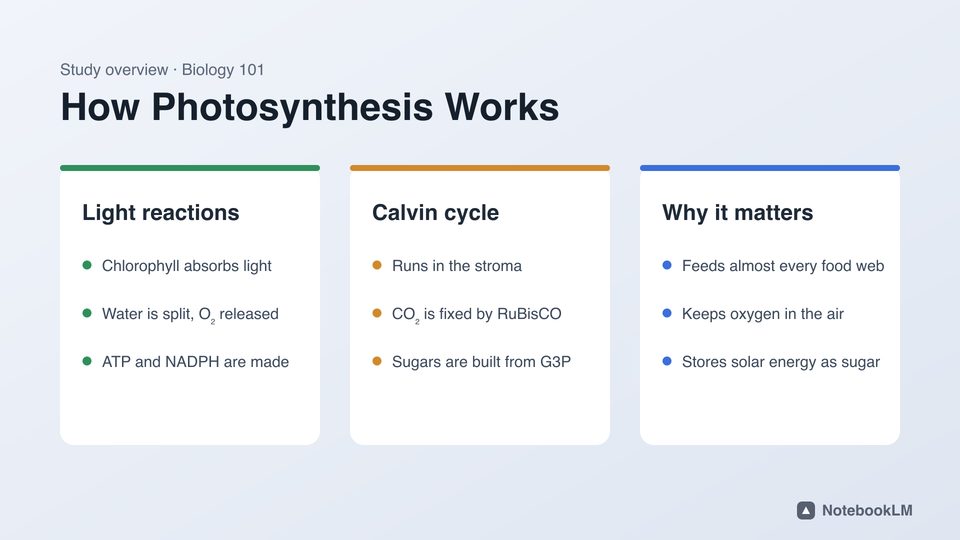

Before

After
The corner of this sample, before and after, cleaned by the same engine.
Before and after


The sample slide, start to finish
Recorded in this tool: open the sample, check the box, remove the mark, compare. Seven seconds, and nothing leaves the browser.
Why blurring and cropping go wrong
Most quick fixes redraw the whole page: print to PDF, screenshot, crop, or paint over with a white box. Each one either softens the slide text, changes the page size, or leaves a visible patch on NotebookLM’s soft gradients. This tool edits the original page image in place, inside its own PDF, at the resolution NotebookLM exported it.
How each kind of page is handled
| Page type | How it is detected | What changes |
|---|---|---|
| Slide image page (typical NotebookLM PDF) | One image drawn over at least 85% of the page and no text objects | The badge pixels inside that image. Lossless (Flate) images stay lossless; JPEG images are re-saved at quality 95. |
| Page with real text | Text objects on the page | With "NotebookLM" or "Custom box", the box is rendered at about 180 dpi, rebuilt, and the clean patch is laid over exactly that box. |
| Links to notebooklm.google or gamma.app | Link annotations | Removed. |
Steps
- In NotebookLM, open the Slide Deck and download it as PDF.
- Drop the PDF here. Page 1 is shown with the NotebookLM box on the badge.
- Check the enlarged before/after corner; drag the box if needed. The same box is used on every page.
- Press Remove watermark and download the clean PDF.
Questions
Will the text in my PDF get blurry?
No. Only the pixels of the badge are rebuilt. The rest of each page image, and any real text on the page, is left exactly as it was.
Does it work on every page at once?
Yes. The box you set on page 1 is applied to every page, and each page image is cleaned separately.
My PDF is password-protected.
Encrypted PDFs cannot be edited in the browser. Export the deck again from NotebookLM, or save an unprotected copy first.
Does the file size change?
Slightly. Re-saved page images can be a little larger or smaller than the originals; the page count and size stay the same.
Is the PDF uploaded?
No. It is read and rewritten in your browser tab with pdf-lib and PDF.js. How to check.